So I think it is about time I made the obligatory sharpening post. Come one we've all done it we learn to sharpen and we get all excited and we want to brag about it to our friends...and random people on the Internet. That's ok, now its my turn to share my method.

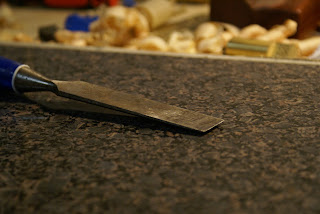
I am going to start by saying that I know how to sharpen and the way I sharpen my edges works. This is not to say it is the only way to sharpen an edge (there are thousand...maybe...of ways to sharpen an edge) but my way works and works well. I will show you the entire process of sharpening an edge using some Marples chisels I acquired recently, and boy could they use some love.

The first step in establishing a sharp edge is the roughest and longest part of the process. An edge needs to be true, but what is true. The trueness of an edge is its consistency of flatness squareness and bevel along its entire length. Not all of these factors are as important as you may think.

A blade (be it chisel, iron or something else) should have as flat a back as you can achieve, but don't stress over this. Find a reliable flat surface that will not distort over time to use when lapping the back of your blade. When I first started started sharpening I used a piece of glass and recently switched to a piece of granite. Something to keep in mind is that to get consistent results with your sharpening method you must remain consistent, if you change to a new lapping surface you should reflatten the backs of your blades on this new surface, more on why later.

Once you have a flat surface you need an abrasive to work the metal on. I usually begin with some 120 sandpaper (I use norton 3x wood sandpaper). Using the 120 sandpaper I work the blade back and forth along its length (to achieve scratches parallel to the long sides of the chisel) and do not stop till I have a consistent scratch pattern across the entire back.

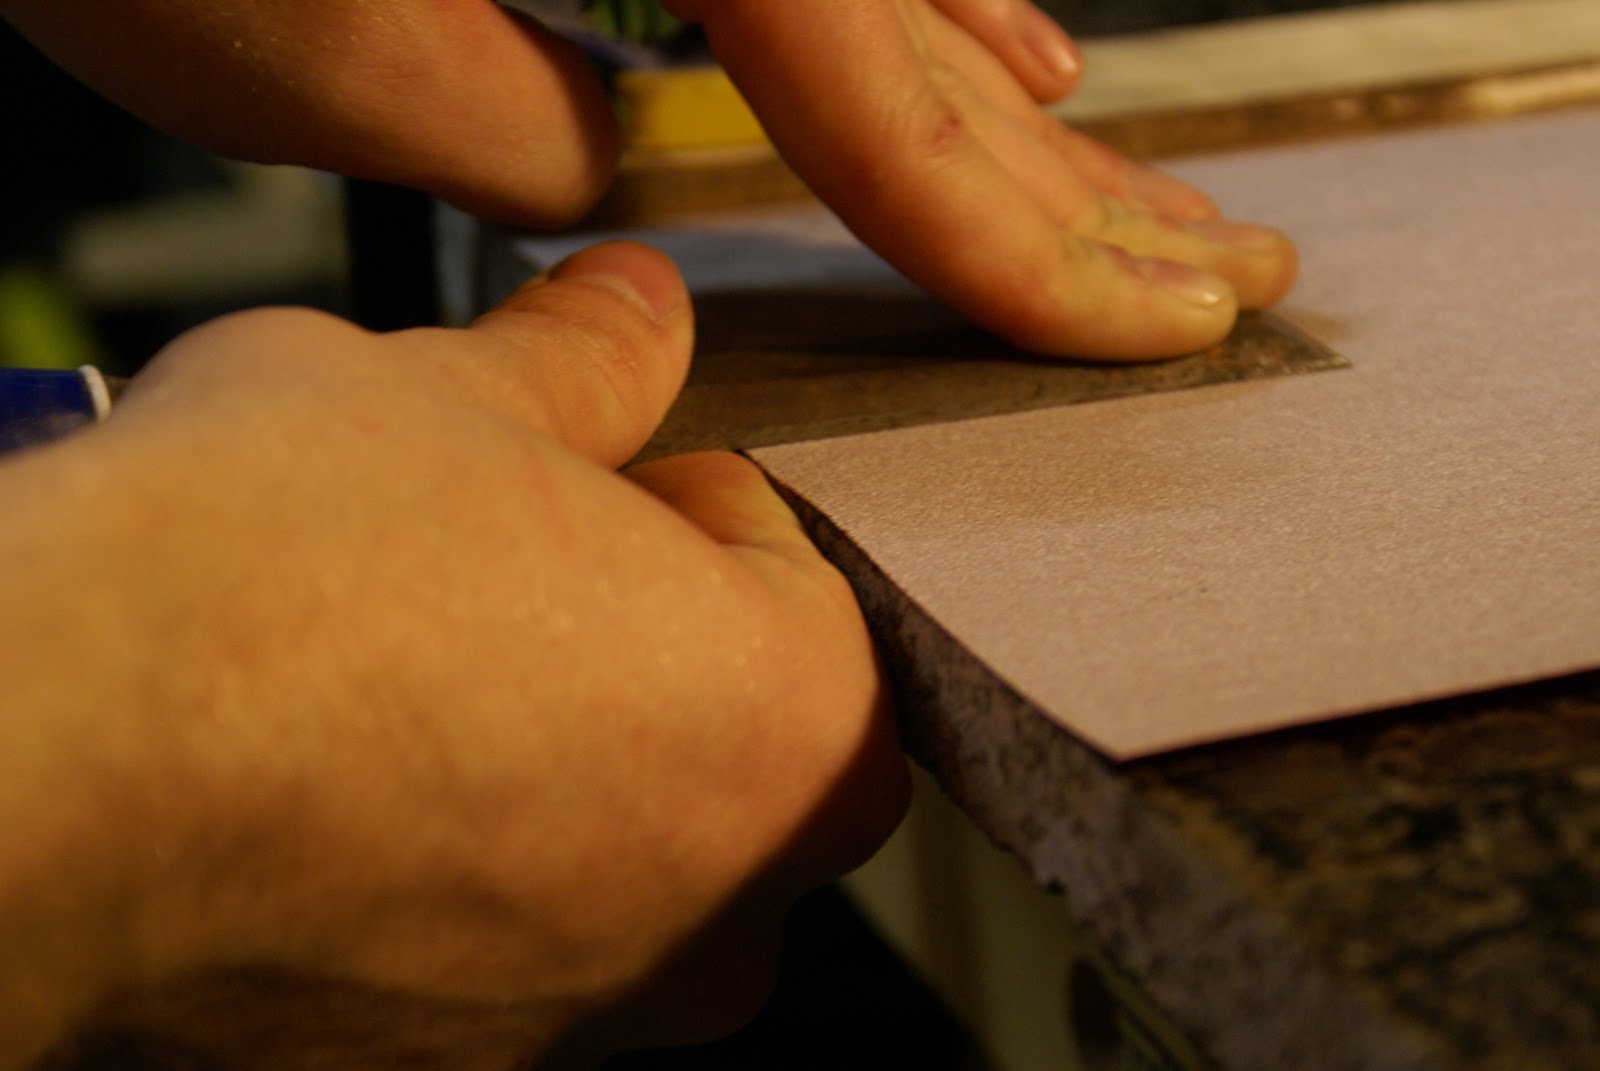


After the 120 I move up to 180 grit and work the steel until I cannot see any of the scratches created by the 120 sandpaper. To see what my surface looks like I hold the blade beneath my desk light and look for a consistent reflection on the steel. If I am having trouble seeing exactly what is going on I use a small magnifying glass to get a better look.


The follow up steps involved in achieving a sharp edge will be posted in the weeks to come. So if you want to learn how to get those edges super sharp stay tuned.
Cheers
Hans Christopher
No comments:
Post a Comment